Start an Instance using a base snapshot with the LSST Stack
Nebula allows you to start instances from snapshots that include a pre-built LSST Stack. This tutorial follows on Introduction to Starting a Nebula Instance and assumes familiarity with the Nebula Horizon dashboard.
Launching from a Snapshot
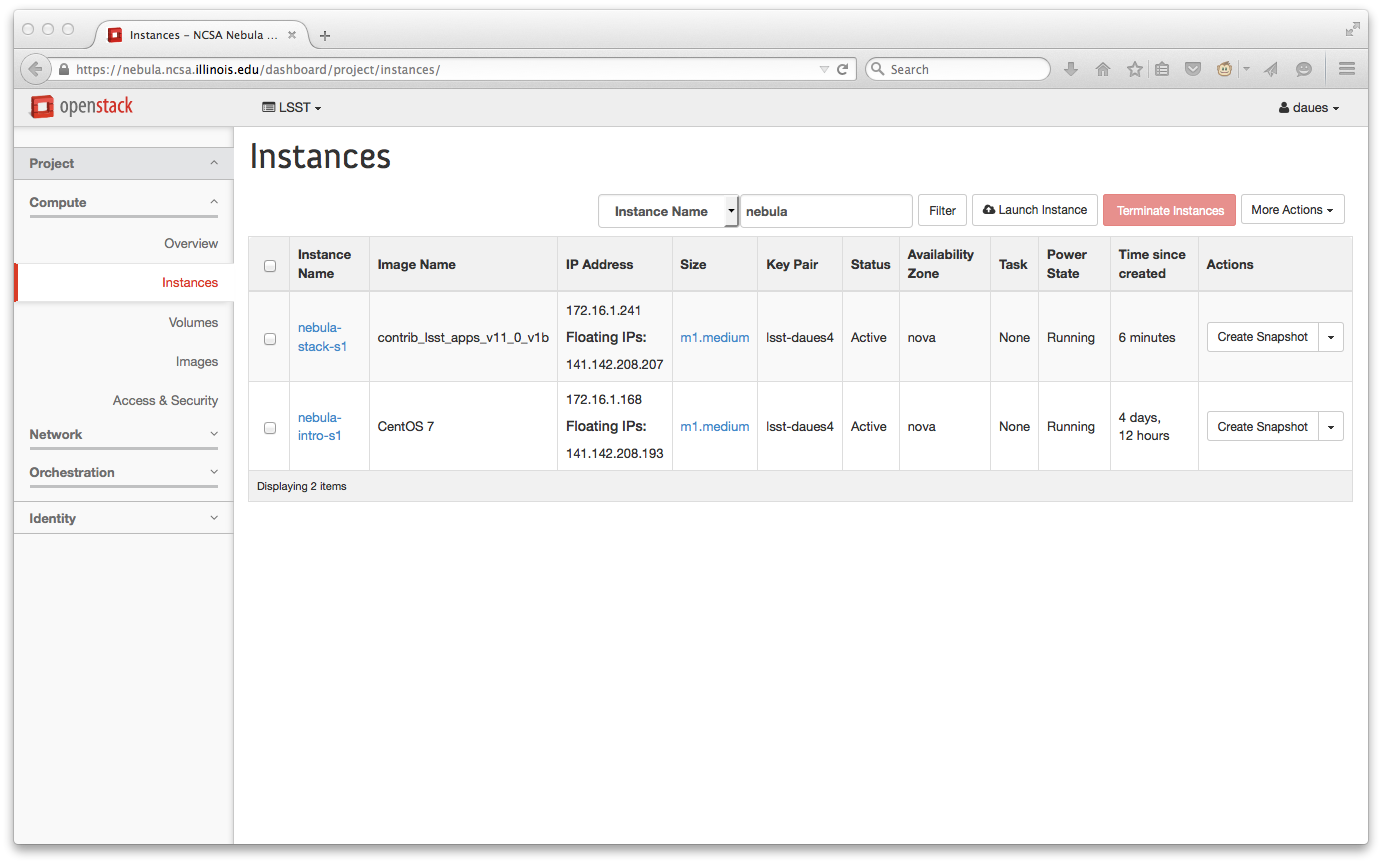
In order to launch an instance with a preinstalled LSST stack, we work through the panels of the Launch Instance interface, and for the first Panel we select for Instance Boot Source the option Boot from snapshot, and for Instance Snapshot the option contrib_lsst_apps_v11_0_v1b.
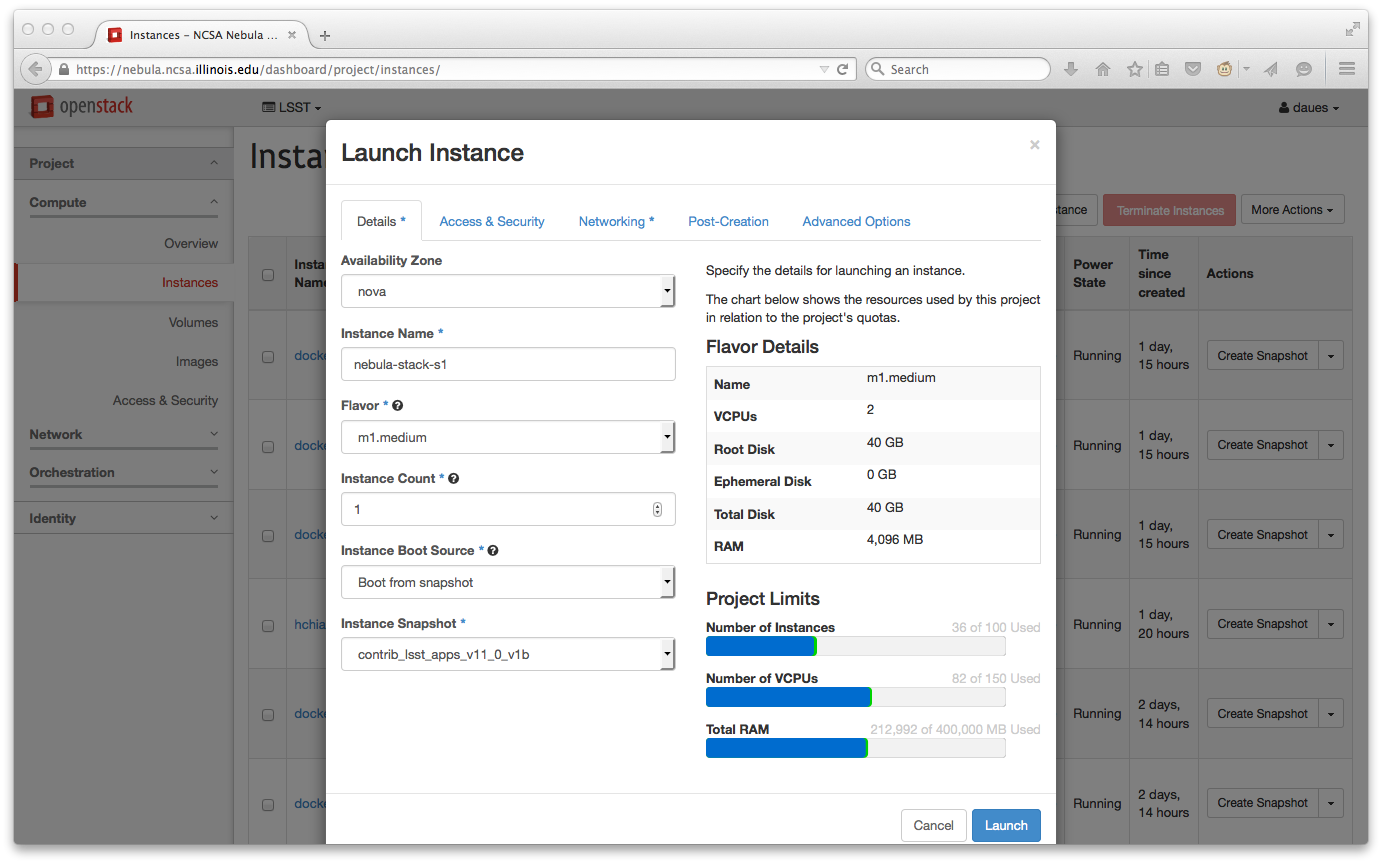
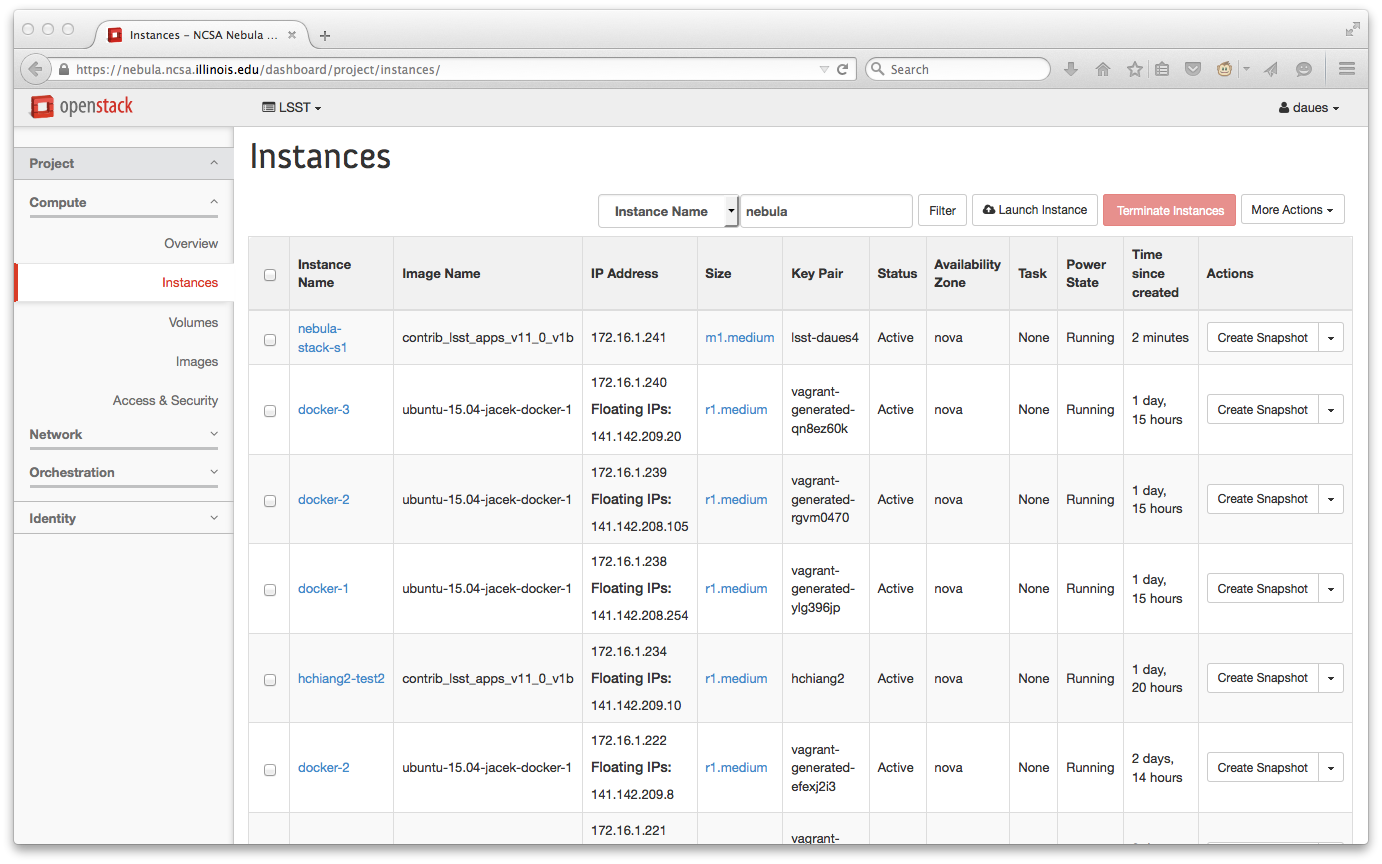
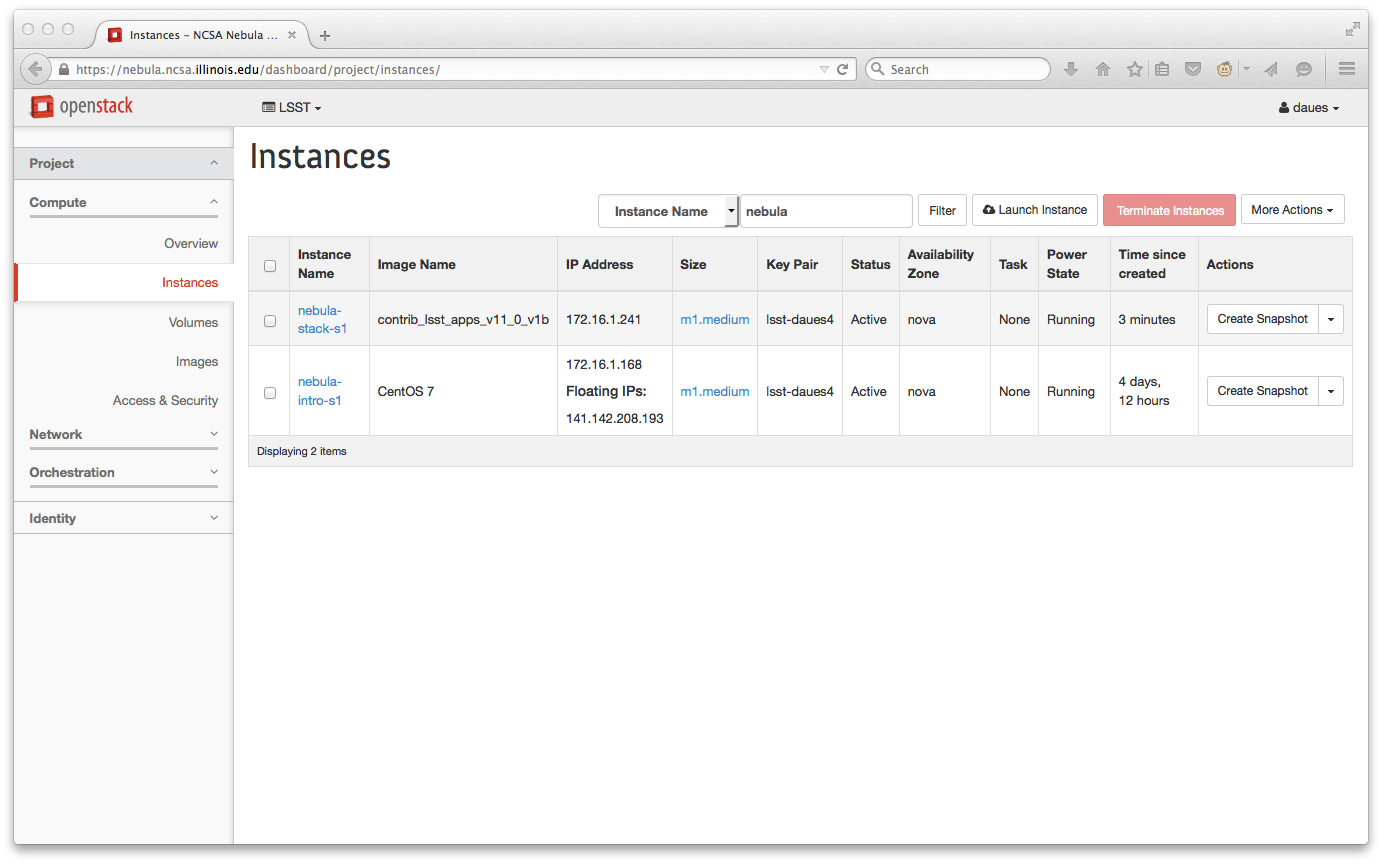
The startup time for an Instance with this base snapshot may be slightly longer than the case of smaller base images, but should not exceed a couple of minutes. Because working with the lengthy list of project instances within the view can be distracting and inconvenient, we highlight that one can filter by typing a keyword (which may be a username, or in this case, ‘nebula’) in the text box to the left of the “Filter” button, and truncate the instance list in this manner:
Associating a Floating IP
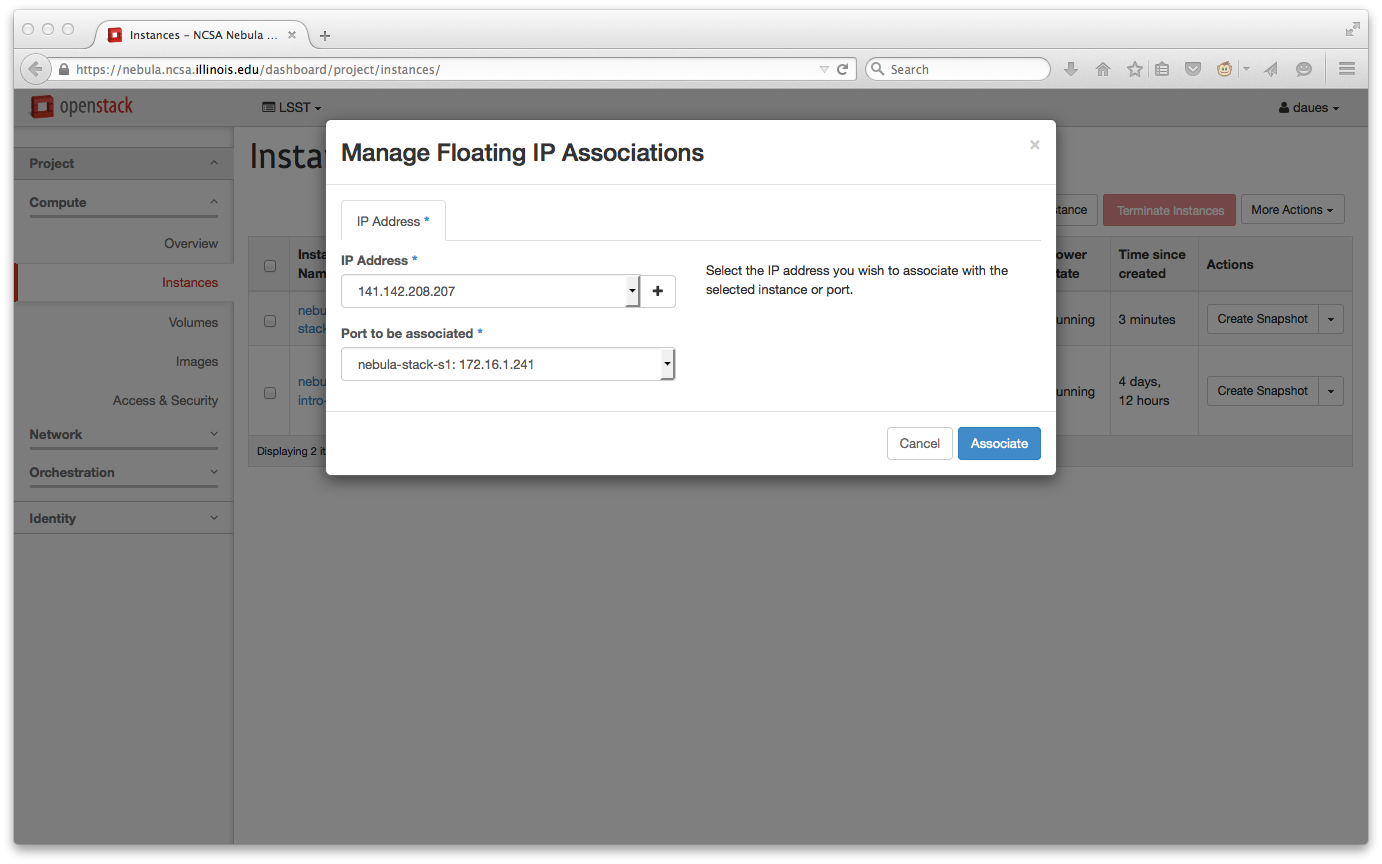
In order to access the instance via ssh from a Unix shell, we select the “Associate Floating IP” option of the “Actions” menu on the right for the instance in question. After selecting an available IP (and generating one via the “+” symbol if necessary), we press “Associate” to submit the request. The Instance list will display that the public IP has been associated successfully.
Logging in and Loading the Stack
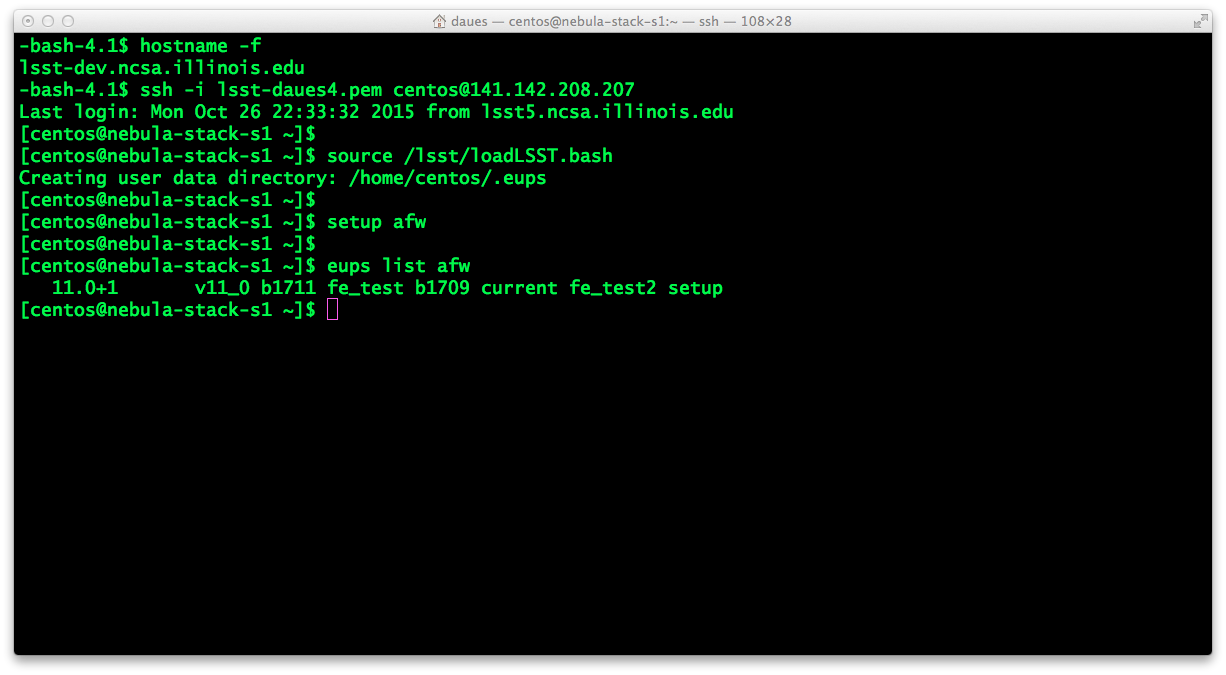
Using the IP number it is now possible to ssh to the instance with a key, taking care to use the appropriate default username (centos in this case).
The base snapshot contrib_lsst_apps_v11_0_v1b has the LSST software stack installed under /lsst, and so the stack may be initialized with
source /lsst/loadLSST.bash
Attaching Storage
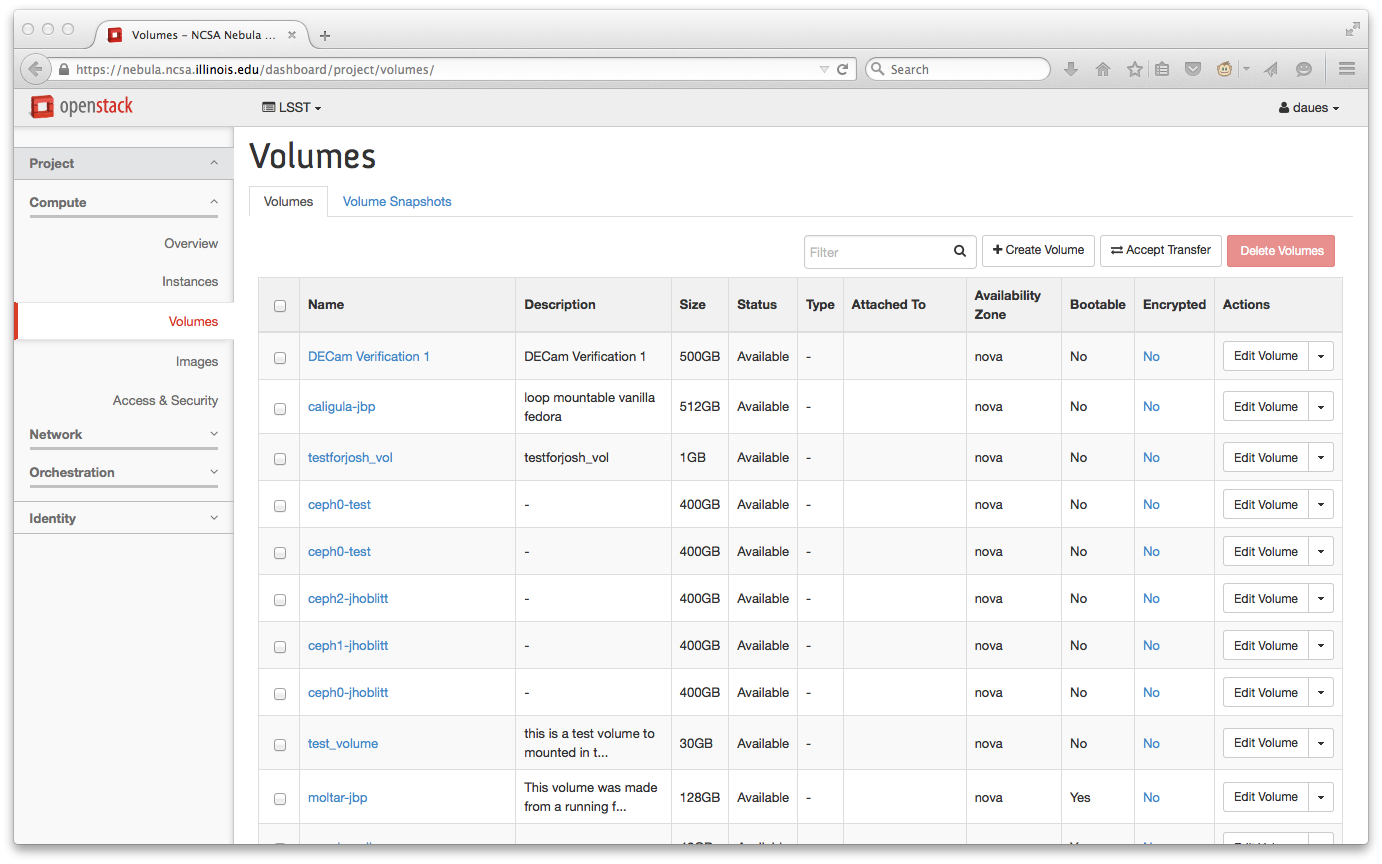
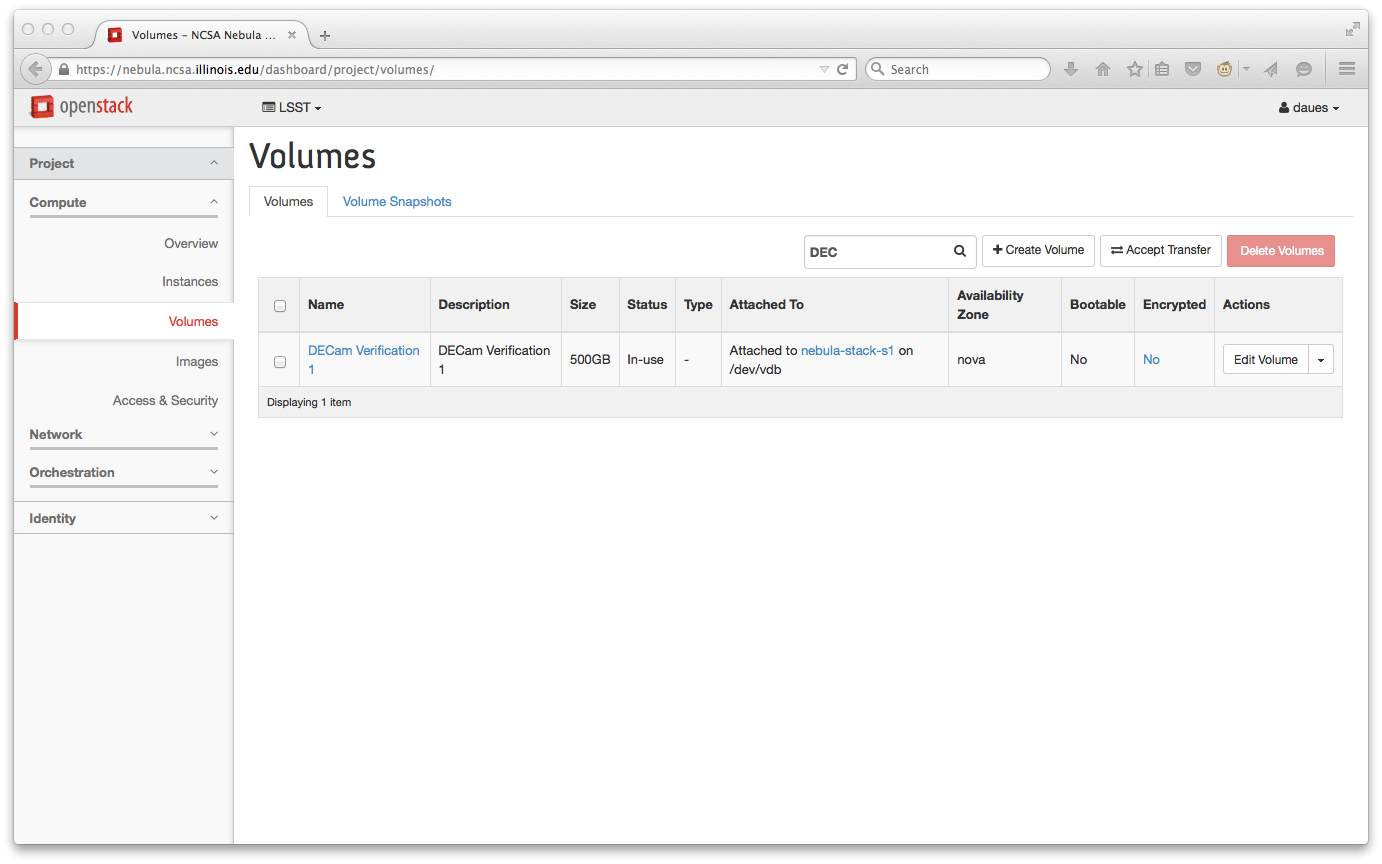
We next describe how to use a data Volume with standard reference data sets. First select the Volumes section in the side bar. A list of data Volumes that have been created by LSSTers is displayed. In this exercise we consider a data volume “DECam Verification 1” that contains ~ 400 GB – 500 GB of DECam raw, calibration, and bpm files. We first use the search field (to the left of the magnifying glass icon) to truncate the view of the volumes (we start typing DEC..).
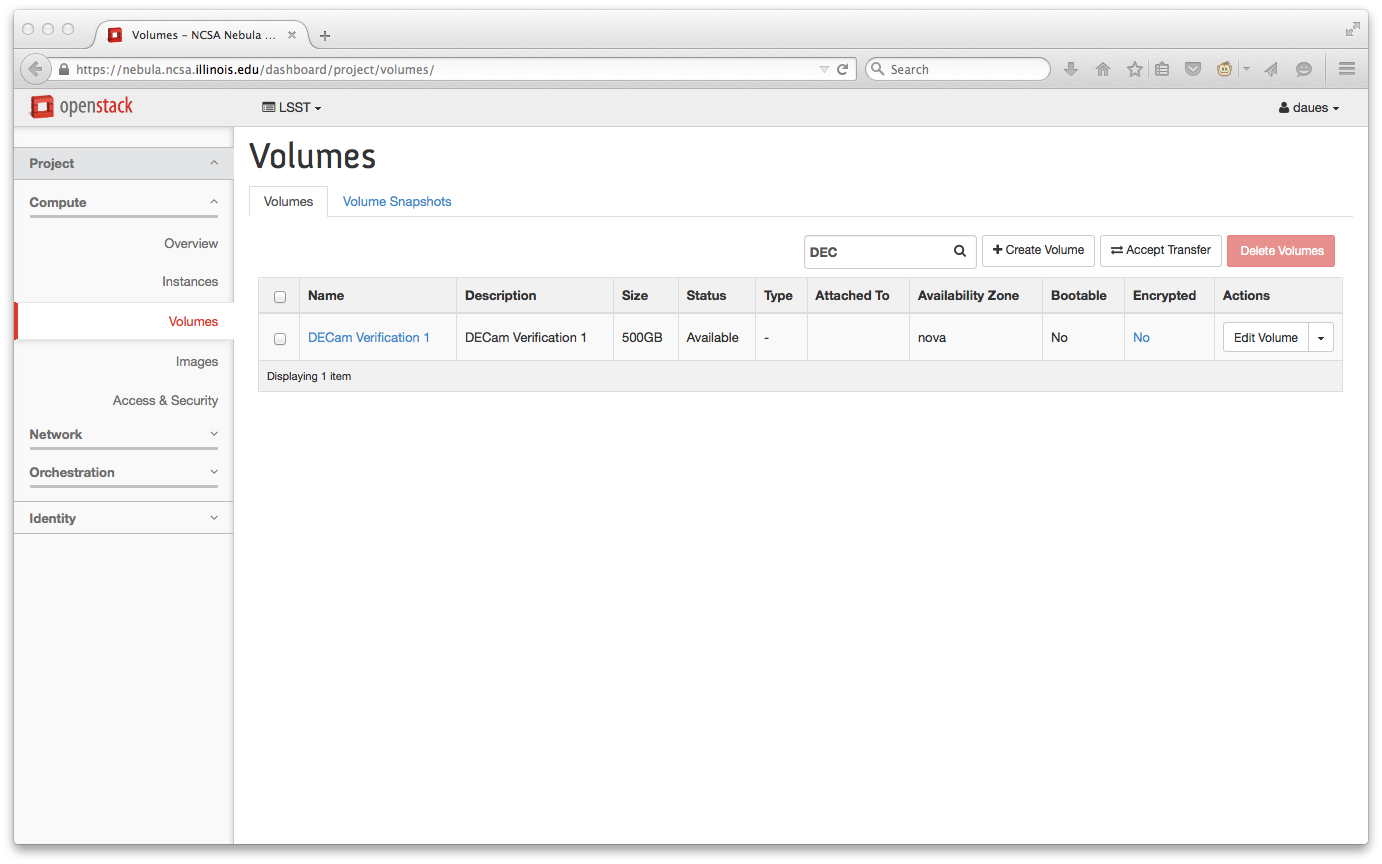
On the Actions menu on the right, we select the Manage Attachments option, and then select the targeted Instance, and Press Attach Volume.
The Volumes list should finally display that the volume has been attached to the Instance on a particular device (here /dev/vdb).

It is now necessary to ssh to the instance and perform some final configuration in order for the data volume to be used.
After logging in to the instance as user centos, we become root with sudo, create a mount point, and utilize the designated device (in this case /dev/vdb, as seen from the interface volumes list) in the mount command:
% sudo su -
# mkdir /work
# mount /dev/vdb /work

One can now exit the root shell and the ordinary user centos should have access to data under /work on an instance with the LSST software stack.